
Understanding Yeast Nutrients in Mead Fermentation
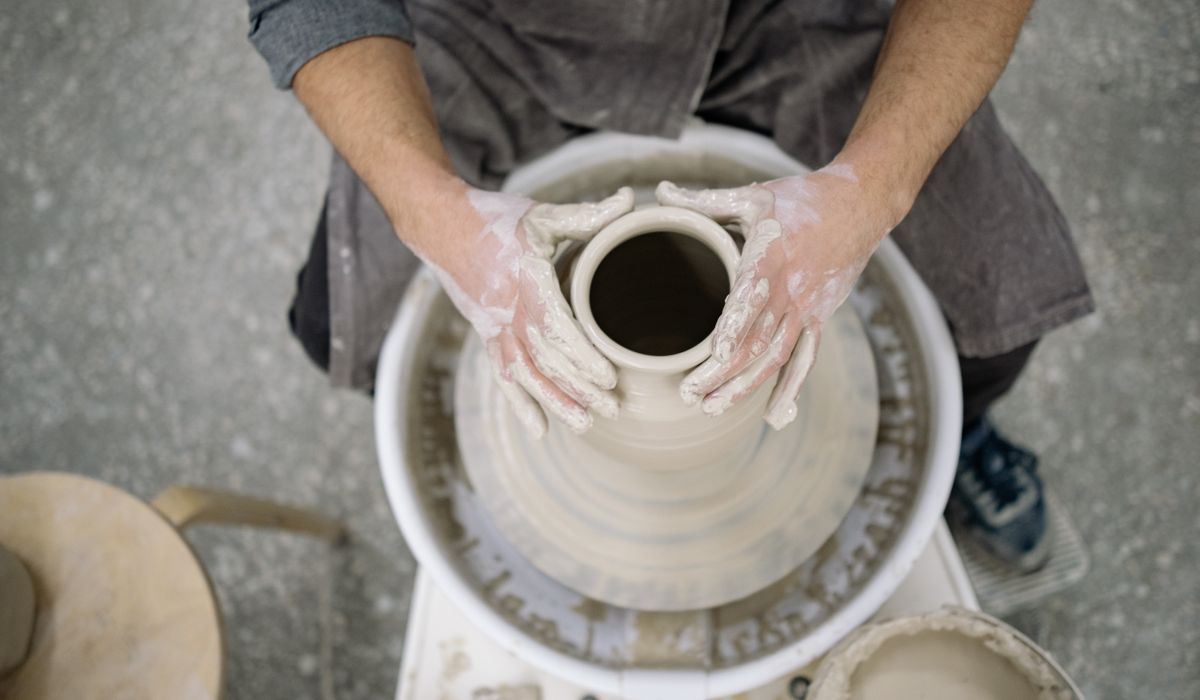
Why Coil Building Is Worth Your Time
The potter's wheel gets the glory, but coil building is the quiet workhorse of hand-built ceramics. It lets you make tall vessels — planters, vases, bread bins — without a wheel or a studio-sized budget. You work at your own pace, adding one ring of clay at a time. The method is ancient and forgiving, yet it demands attention: rush the joins and the walls crack; ignore drying and the pot slumps. Get it right and you'll produce work that feels sturdy and personal.
Set up properly. You need a clean board, a fork or needle tool, a wooden rib, a metal kidney, a sponge, a bowl of slip, and a plastic bag. Work on a surface that will not absorb moisture too quickly — a wooden board is ideal. Stoneware or a grogged clay body suits beginners: the grog adds strength and reduces cracking.
Preparing Clay and Rolling Even Coils
Start with well-wedged clay. Wedging removes air pockets and makes the clay consistent. Take a lump the size of a large orange and shape it into a rough ball. To roll a coil, place the clay on a smooth board and cup your hands over it. Use your palms — not your fingers — to push the clay gently forwards and backwards, moving your hands slowly outwards from the centre. A good coil is about 1.5 to 2 cm thick and even along its whole length. If it tapers, start again.
- Roll on a smooth, dry board — not newspaper, which sticks.
- Use a light, rhythmic motion. Forcing the clay makes it crack.
- If the coil flattens, roll it gently on its side to round it.
- Keep spare coils under plastic so they stay soft.
For a tall pot, roll coils in batches, but do not leave them uncovered for long. Clay that has dried at the edges will not join cleanly.
Scoring, Slipping and Making Strong Joins
The secret to a coil pot that stays together is a proper join. Every new coil must bond to the one below. Score the top edge of the pot with a fork or needle tool, making deep criss-cross scratches. Paint on slip — clay and water mixed to the consistency of double cream. Slip is not glue; it is a bridge. It softens both surfaces so they merge.
Score the underside too. Press the coil onto the slipped rim, then pinch and blend. Work in small sections. Use your thumb inside and fingers outside, or a wooden rib, to push the clay into the join. Do not squash the coil flat. Keep the walls even. Add more slip if dry; wait if too wet.
Building Upwards Without Bulges or Collapse
Build in stages. Add two or three coils, then stop and tidy the wall. Rotate the pot as you work. Keep the wall thickness consistent — around 8 to 10 mm for a medium pot. If the wall gets too thin, it will crack; too thick, and it will be heavy and prone to firing faults. Support the inside with your non-dominant hand as you shape the outside.
Control the profile. A slight inward curve near the base adds strength. For a wide belly, flare the coils out gradually; for a narrow neck, bring them in slowly. Never push a single coil too far. If the pot leans, check the base. You can support the inside with scrunched-up newspaper or a plastic bag of rice.
Smoothing, Shaping and Refining the Walls
Once all the coils are joined, refine the surface. Run a wooden rib up the outside wall with steady pressure. This compresses the clay and creates a smooth finish. Follow with a metal kidney, then a damp sponge. Do not over-wet the pot. Too much water brings soluble salts to the surface and can cause cracks.
For an even rim, let the pot firm up until leather-hard — about the consistency of hard cheese. Trim the top with a sharp knife or needle tool. You can paddle the walls gently to strengthen them. If you want texture, now is the time: press a patterned roller, carve lines, or add handles. Score and slip any additions. Leave the pot to dry slowly under a plastic bag, opening it a little more each day. Rushing this stage is the most common reason coil pots crack.
Drying, Firing and Finishing
Drying a tall coil pot takes patience. Keep it wrapped for at least a week, then let it air-dry in a cool, draught-free room. Turn it upside down once the base is firm, so the bottom dries evenly. Never dry a coil pot near a radiator or in direct sun. Uneven drying causes warping or cracks. When bone dry, it is ready for bisque firing. A typical bisque firing to around 1000°C hardens the clay for glazing. If you do not have a kiln, local pottery groups often offer firing services.
After bisque firing, glaze and fire again according to your clay and glaze instructions. The result is a strong, individual vessel that shows the rhythm of your hands. Coil building is slow, but that is its charm. With practice, you will feel when a join is right and when the wall is even. That knowledge is worth more than any machine.
LEAVE A COMMENT