
Flavouring Mead with Fruit and Spices
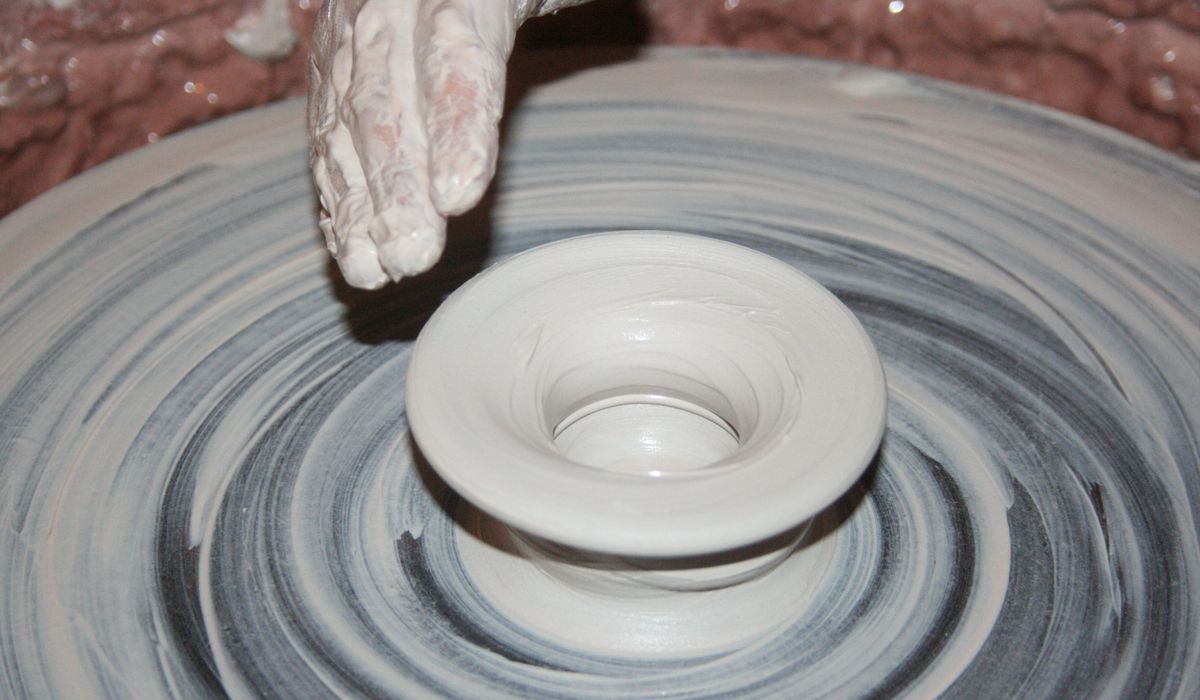
Why Food Safety Starts at the Glaze
A mug you drink from every morning is a small piece of chemistry. The clay body provides the shape, but the glaze is what touches your tea, coffee or soup, and it must stay intact for years. A food-safe glaze is one that is fully vitrified, well fitted to the clay, and formulated without toxic metals that can leach into food. In the UK, potters usually work to the spirit of the EU ceramic directive, which sets strict limits on lead and cadmium release. Even if you only sell at a village market, getting this right protects your customers and your reputation.
Crazing is the enemy to watch for. Those fine web-like cracks in a glaze look charming on a decorative vase, but on a mug they trap moisture and bacteria. If a glaze crazes, or if it contains lead, barium or high levels of copper and cobalt on a food surface, it is not suitable for daily use.
Glaze Chemistry Without the Headache
Every glaze is built from three main components: silica, alumina and a flux. Silica forms the glass, alumina gives it durability and stops it running off the pot, and fluxes such as boron, sodium, potassium or calcium lower the melting point. A balanced glaze has enough silica and alumina to resist attack from acids in food and drink.
For food surfaces, keep these principles in mind:
- Aim for durable base glazes built on calcium, magnesium or boron fluxes rather than highly soluble alkalis.
- Avoid lead entirely. Modern lead-free commercial glazes are reliable and easy to use for beginners.
- Use colouring oxides with care. Copper, cobalt, manganese and chrome can be safe in a stable glaze, but they should not be used on rims or interiors unless you have tested them.
- Add a liner glaze. A plain, well-tested white or clear glaze on the inside of mugs and bowls is a simple safety net.
Buying ready-mixed glazes labelled food-safe is a smart starting point. If you mix your own, keep detailed records so you can repeat a good result.
Mixing and Applying Glaze Evenly
Thickness matters more than most beginners realise. A glaze layer of roughly 0.3 to 0.5 mm works well for most stoneware. Too thin and the surface is dry and rough; too thick and it may run, blister or shiver off the pot.
For dipping, aim for a glaze slurry with a specific gravity of around 1.4 to 1.5. A cheap hydrometer from a brewing shop is perfect for this. Sieve your glaze through an 80 or 100 mesh sieve before use to remove lumps. Stir thoroughly, then let it settle for a few minutes before dipping.
- Dipping: hold the pot with tongs for two to three seconds, then lift smoothly. One even dip is usually better than several rushed ones.
- Pouring: useful for large bowls. Pour glaze over the outside while turning the pot, then pour a liner glaze inside.
- Brushing: ideal for small batches. Apply three thin coats, letting each dry, rather than one thick one.
- Wax resist: paint it on the foot ring so the pot does not stick to the kiln shelf.
Wipe the foot clean afterwards. A dry, glaze-free foot is the mark of a careful potter and keeps your shelves tidy.
Choosing the Right Firing Temperature
Food-safe pottery is normally fired to one of two levels. Earthenware, around 1040 to 1120°C, is porous unless glazed, so the glaze must be flawless. Stoneware, typically 1220 to 1280°C, vitrifies the clay body itself and is the most forgiving choice for mugs and bowls.
Follow a simple firing schedule: bisque fire to around 1000°C, then glaze fire to the temperature your glaze and clay are rated for. Soak at the top temperature for 10 to 15 minutes to smooth the glaze, then cool slowly. Rushing the cooling, especially below 600°C, can cause dunting, a crack that runs through the pot and its glaze.
Use kiln cones rather than trusting the digital controller alone. A cone pack placed where you can see it through the peephole tells you what actually happened inside the kiln.
Testing Your Finished Pots
Before you hand a mug to a friend or sell it at a fair, test it. The vinegar test is a good starting point: fill the pot with warm white vinegar and leave it for 24 hours. Rinse, dry and inspect the surface for dulling, staining or crazing. For a sterner check, repeat with lemon juice and then run the pot through a dishwasher cycle a few times.
Tap the rim with a fingernail. A clear ring suggests a good glaze fit; a dull thud can mean a hidden crack. Hold the pot up to a bright window and look for fine cracks in the glaze. If you find any, retire that piece from food use and keep it for a plant pot instead.
Good habits are simple: test every new glaze on a tile first, record your firing, and never assume a glaze is food-safe just because it looks glossy. With a little care, your mugs and bowls will serve daily cups of tea for decades.
LEAVE A COMMENT