
How to Make Traditional Honey Mead at Home
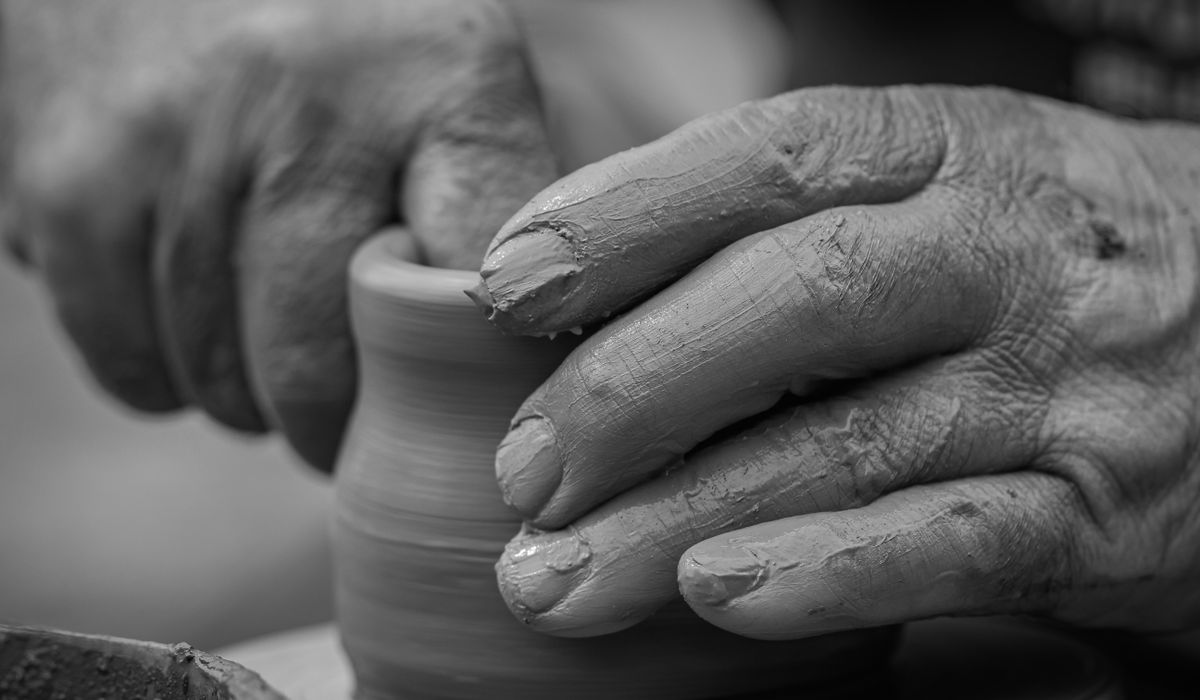
Why Wedging Is Worth the Effort
Clay straight out of the bag is rarely ready to throw. It may have been sitting for months, and during that time moisture migrates towards the edges, the middle firms up, and pockets of air get trapped where the pug mill folded the mass. If you drop that clay onto the wheel head and try to centre it, you will fight it the whole way. The ball will wobble, the wall will thin unevenly, and somewhere around the third pull a pocket of trapped air will open up and ruin the pot.
Wedging fixes this. It is not a ritual and it is not optional — it is the process of working the clay so that the moisture becomes even and any large air pockets are broken up and dispersed. Well-wedged clay centres almost by itself. The wheel stops arguing with you, the walls pull up smoothly, and the chances of a crack appearing in the kiln drop dramatically. Two or three minutes of preparation saves you half an hour of frustration.
Know Your Clay Before You Start
Before you wedge anything, squeeze it. Clay that is ready to throw should feel like firm cheese or soft butter — it should take a thumbprint without collapsing and hold its shape when you roll it into a ball. If it is stiff and crumbly, it needs moisture. Do not solve this by dunking it in a bucket. Wrap it in a damp cloth, seal it in a bag overnight, or work a little water in as slip on your hands while wedging. If it is sloppy and sticky, spread it out on a plaster bat for an hour or so to firm up.
Reclaimed clay, in particular, needs more attention than fresh clay. It is almost always unevenly wet, so wedge it in smaller batches and test it before you commit to a throwing session.
The Spiral or Rams Head Method
This is the standard technique for most throwing, and the one to master first. Work on a plaster bat, a wooden board, or a clean bench that has had a moment to dry — a wet surface will simply smear the clay about.
- Shape the clay into a rough ball and place it in front of you. Stand or sit so your weight is over the clay.
- Rest the heel of your left hand on the far side of the ball and your right hand on the near side, fingers spread.
- Press down and forward with the heel of the left hand while the right hand squeezes the clay upwards and towards you. The mass should fold in on itself rather than flatten.
- Give the ball a quarter turn and repeat, working in a steady rhythm rather than a series of sudden shoves.
- Keep the motion going for a minute or two, forming a cone, then re-form the ball and continue until the texture feels uniform.
The aim is to bring the outside of the mass into the middle and the middle out to the outside, over and over. Think of it as folding and rolling, not squashing.
The Bull's Head Method for Stiffer Clay
Sometimes called ox-head wedging, this is faster and works better on firm or reclaim clay that resists the spiral. It does not even out moisture quite as thoroughly, so use it as a first pass and follow with spiral wedging if you have the time.
- Press the ball down firmly with the heels of both hands, flattening it into a thick pad.
- Fold it in half towards you, then press down again.
- Turn the mass a quarter turn and repeat the press-and-fold.
- Continue for twenty or thirty cycles, keeping the folds tight so no loose air is trapped between layers.
If you can hear a soft hiss or feel a spongy pocket as you press, keep going — that is exactly what you are trying to eliminate.
How to Tell the Clay Is Ready
Do not guess. Cut the ball in half with a wire and look at the cut face. You want a uniform colour and a smooth surface with no visible pinholes, no streaks of darker clay, and no soft, wet patches. Then press the two halves back together and give the ball a few firm spanks on the bench. It should sound dull and solid, not squelchy.
- Even colour across the cut face means the moisture has homogenised.
- No pinholes means large air pockets have been broken down.
- Firm, springy feel under the thumb means it is ready to centre.
- Holds its shape on the wheel head without slumping or cracking at the base.
Habits That Keep Your Wedging Honest
Wedging is only as good as the habits around it. A few small disciplines will transform your throwing consistency.
- Wedged only as much clay as you will throw in one sitting — re-wedge anything left over, because it settles as it rests.
- Do not over-wedge. Short or heavily grogged clay bodies can become flabby and lose their structure if you work them endlessly.
- Keep your hands fairly dry. Wet hands add surface water and undo the evenness you have just created.
- Work in batches of a kilo or two rather than wrestling with a huge mass, and keep unwedged clay covered while you work.
- Store wedged balls under plastic or in a damp box so they do not dry out between sessions.
- Clean your board or bat between batches — dried clay crumbs will get folded in and show up as hard specks in a finished piece.
Get into the rhythm and wedging becomes a pleasant, almost meditative start to a session. The wheel will feel different under your hands: calmer, more predictable, and far more forgiving of the small errors every potter makes.
LEAVE A COMMENT